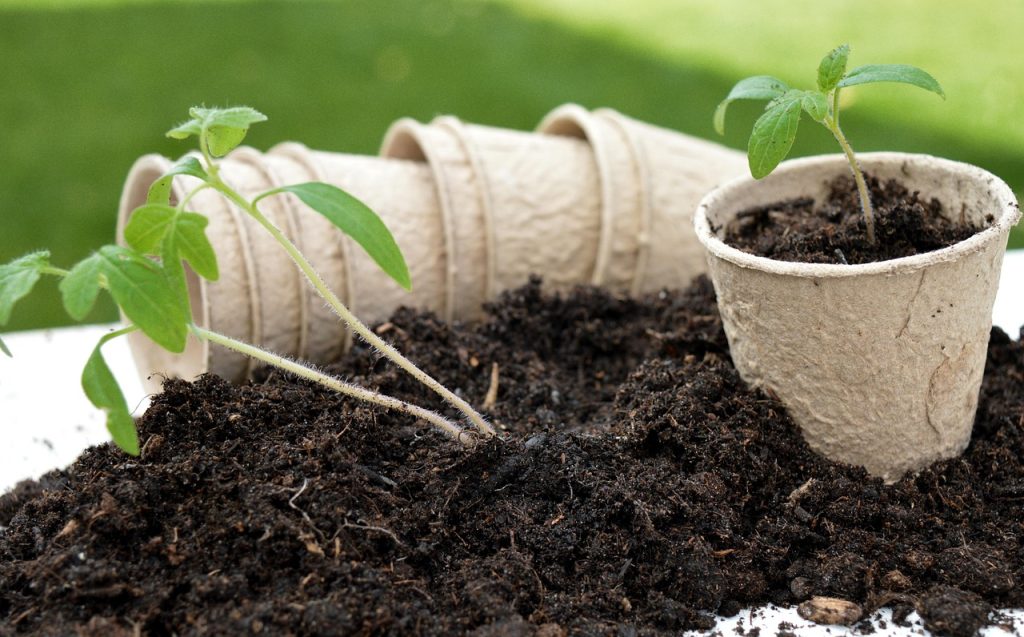
Welcome to your first plant repotting adventure! Imagine giving your favorite plant, maybe a pothos, a succulent, or a fern, a new home where it can stretch its roots and thrive. Repotting sounds tricky, but with the right steps, it’s like moving your plant to a bigger, better apartment. This guide is your friendly workshop for learning how to repot a plant safely, perfect for beginners. We’ll walk through each step with simple tips to keep your plant happy and healthy, so grab your gloves and let’s get started!
Why Repotting Matters for Your Plant
Repotting is like giving your plant a fresh start. Plants in pots can outgrow their space, with roots getting cramped or soil losing nutrients. A 2025 study from the Home Gardening Association found that 60% of houseplant issues, like slow growth or yellow leaves, are tied to root-bound pots or old soil. By mastering how to repot a plant safely, you help your plant grow stronger, avoid stress, and keep your indoor or outdoor garden looking lush.
When to Repot Your Plant
Before we dive into the steps, let’s figure out if your plant needs repotting:
- Roots poking out: See roots growing through drainage holes or circling the soil surface? Time to repot!
- Slow growth: If your plant stops growing or looks droopy despite good care, it might be cramped.
- Dry soil: If water runs straight through or soil dries out too fast, the pot may be too small.
- Every 1–2 years: Most plants need repotting every 12–24 months to refresh soil and space.
- Best time: Spring or early summer, when plants are growing actively.
Tools You’ll Need to Repot Safely
Gather these simple tools to make repotting easy and safe:
- New pot (1–2 inches larger than the current one)
- Fresh potting soil (choose plant-specific mixes, like cactus soil for succulents)
- Gardening gloves (to protect your hands)
- Trowel or small shovel (for scooping soil)
- Scissors or pruning shears (clean and sharp)
- Watering can (with a gentle spout)
- Newspaper or tarp (to keep things tidy)
- Optional: Pebbles or moss for decoration
Step-by-Step Guide to Repot a Plant Safely
Let’s get your plant ready for its new home! Follow these beginner-friendly steps to learn how to repot a plant safely, with tips to avoid common mistakes.
Step 1: Pick the Right Pot
What to do: Choose a new pot that’s 1–2 inches wider and deeper than the current one. Make sure it has drainage holes to prevent water buildup.
- Why it matters: Too big a pot holds extra soil that stays wet, harming roots. Too small, and your plant stays cramped.
- Best for: All plants, from pothos to orchids.
- Tip: Terracotta pots dry faster, great for succulents; plastic pots hold moisture, ideal for ferns.
- Mistake to avoid: Don’t jump to a huge pot, it can cause overwatering issues.
Step 2: Prepare the New Pot
What to do: Clean the new pot with soap and water to remove dirt or germs. Add a 1-inch layer of fresh potting soil at the bottom.
- Why it matters: Clean pots prevent pests or diseases, and the soil base gives roots a soft landing.
- Best for: Plants like snake plants or peace lilies that need stable soil.
- Tip: For plants like orchids, use a mix with bark or perlite for better drainage.
- Mistake to avoid: Don’t reuse old, crusty soil, it lacks nutrients.
Step 3: Water the Plant Before Repotting
What to do: Water your plant lightly 1–2 days before repotting to soften soil and reduce root stress.
- Why it matters: Moist soil makes it easier to remove the plant without breaking roots.
- Best for: Delicate plants like calatheas or monsteras.
- Tip: Don’t soak the plant, just dampen the soil to make it workable.
- Mistake to avoid: Repotting a bone-dry plant can shock roots.
Step 4: Remove the Plant from Its Old Pot
What to do: Gently turn the pot sideways and tap the bottom to loosen the plant. Slide it out, holding the base of the stem. If stuck, run a butter knife around the pot’s inner edge.
- Why it matters: Careful removal prevents tearing roots or damaging the plant.
- Best for: Root-bound plants like jade or spider plants.
- Tip: Lay newspaper down to catch soil spills and keep your workspace clean.
- Mistake to avoid: Don’t yank the plant, it can snap stems or roots.
Step 5: Check and Trim the Roots
What to do: Look at the roots. If they’re circling tightly (root-bound), gently tease them apart with your fingers. Trim any black, mushy, or dead roots with clean scissors.
- Why it matters: Healthy roots grow better in new soil; trimming bad ones prevents rot.
- Best for: Plants like ficus or aloe with dense root systems.
- Tip: Dust cut roots with cinnamon (a natural antifungal) to prevent infection.
- Mistake to avoid: Don’t cut healthy roots too much, it stresses the plant.
Read More: Mistakes New Plant Owners Should Avoid
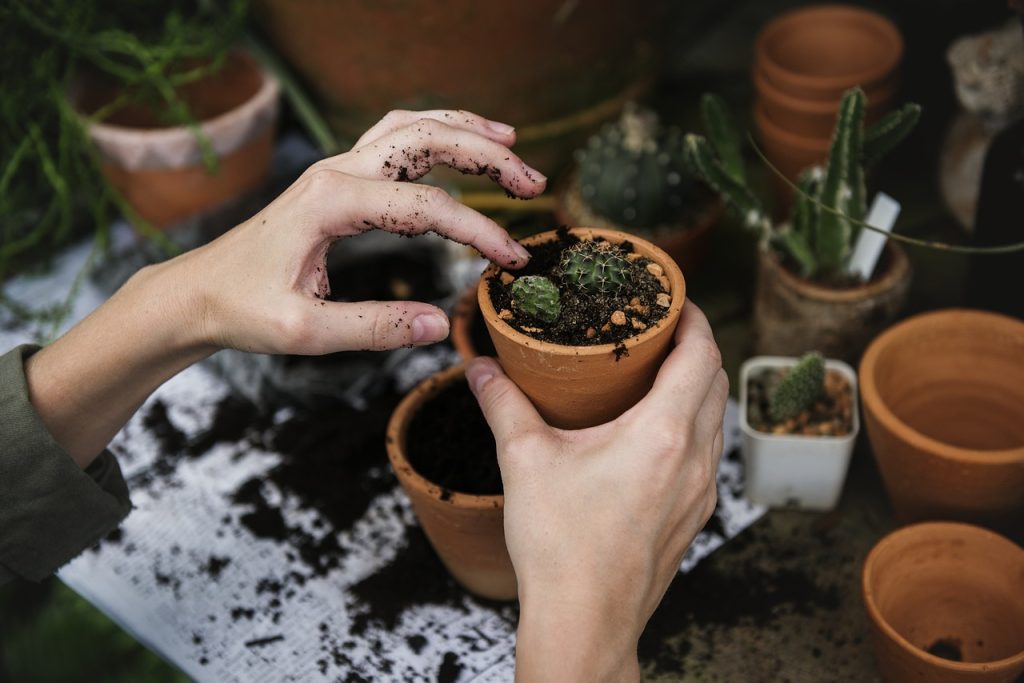
Step 6: Place the Plant in the New Pot
What to do: Center the plant in the new pot, keeping the soil line 1 inch below the rim. Add fresh soil around the roots, pressing gently to remove air pockets.
- Why it matters: Proper placement ensures roots have space to spread without drowning.
- Best for: All plants, especially tall ones like dracaenas.
- Tip: Hold the plant steady with one hand while adding soil with the other.
- Mistake to avoid: Don’t pack soil too tightly, as it can choke roots.
Step 7: Water and Settle the Plant
What to do: Water the plant thoroughly until water drains out the bottom. Let it sit for 10 minutes, then empty the saucer to avoid soggy roots.
- Why it matters: Water helps soil settle and roots adjust to their new home.
- Best for: Thirsty plants like peace lilies or ferns.
- Tip: Use room-temperature water to avoid shocking the plant.
- Mistake to avoid: Don’t overwater, check soil dryness before watering again.
Step 8: Care for Your Newly Repotted Plant
What to do: Place the plant in a spot with similar light as before (e.g., bright indirect light for pothos). Avoid fertilizing for 4–6 weeks to let roots settle.
- Why it matters: A stable environment helps the plant recover from repotting stress.
- Best for: Sensitive plants like orchids or calatheas.
- Tip: Mist leaves lightly for humidity-loving plants to ease the transition.
- Mistake to avoid: Don’t move the plant to direct sun—it can cause leaf burn.
| Plant Type | Repotting Frequency | Best Pot Size | Soil Type |
|---|---|---|---|
| Pothos | Every 1–2 years | 1–2 inches larger | All-purpose potting mix |
| Succulents | Every 2–3 years | 1 inch larger | Cactus/succulent mix |
| Ferns | Every 1–2 years | 2 inches larger | Moist, organic-rich mix |
| Orchids | Every 1–2 years | Same or 1 inch larger | Bark/perlite mix |
Tips for Safe Repotting Success
These extra pointers will make how to repot a plant safely even easier:
- Work in shade: Repot on a cloudy day or in a shaded area to avoid heat stress.
- Label pots: Write plant names on pots to track their needs.
- Clean tools: Sterilize scissors with rubbing alcohol to prevent spreading germs.
- Add pebbles: Top soil with pebbles for a neat look and better drainage.
- Be gentle: Handle roots and stems carefully to avoid bruising.
Common Repotting Mistakes to Avoid
Don’t let these slip-ups harm your plant:
- Using the wrong pot size: Too big leads to overwatering; too small cramps roots.
- Skipping drainage holes: Water buildup causes root rot.
- Repotting at the wrong time: Avoid winter when plants are dormant.
- Overwatering after repotting: Let soil dry slightly before watering again.
- Tip: If you’re unsure, repot only when roots are crowded or soil is old.
Troubleshooting Repotting Issues
If your plant looks sad after repotting, try these fixes:
- Wilting leaves: Move to shade and water lightly; it may be adjusting to new soil.
- Yellow leaves: Check for overwatering or poor drainage; empty saucers.
- No growth: Give it 2–4 weeks to settle; avoid fertilizing too soon.
- Pests: Inspect for bugs like spider mites and treat with neem oil if needed.
- Tip: Be patient, most plants perk up with consistent care.
Repotting Different Types of Plants
Not all plants repot the same way. Here’s how to tweak how to repot a plant safely for specific types:
- Pothos or Spider Plants: Use all-purpose soil; tease apart tangled roots gently.
- Succulents or Cacti: Choose a gritty cactus mix; let roots dry a day before repotting.
- Ferns or Calatheas: Keep soil moist and use a larger pot for their lush roots.
- Orchids: Use bark-based mix, trim only dead roots and avoid packing tightly.
- Tip: Research your plant’s specific needs for the best soil and pot.

FAQs About How to Repot a Plant Safely
Most plants need repotting every 1–2 years, or when roots are crowded or soil is dry and crusty.
Yes, spring or early summer is ideal when plants are growing. Avoid winter dormancy.
Gently tap the pot or run a knife around the inside edge to loosen the plant without forcing it.
Yes, drainage holes prevent water buildup and root rot. If using decorative pots, place a drained pot inside.
Drooping is normal as plants adjust. Keep in shade, water lightly, and give it 1–2 weeks to recover.
Your Repotting Victory
Congrats, you’ve learned how to repot a plant safely like a pro! With these simple steps, from picking the right pot to gently settling your plant in its new home, you’re giving your green friends the space and nutrients they need to grow strong. Whether it’s a pothos, succulent, or fern, your careful touch will keep them thriving. So, roll up your sleeves, grab that new pot, and watch your plants flourish in their fresh, cozy homes!