Backyard gardening is more than a hobby, it’s a way to connect with nature, grow fresh food, and create a sustainable lifestyle. In 2025, the DIY gardening trend is booming, driven by a desire for self-sufficiency, healthier eating, and environmental consciousness. Whether you’re a beginner dreaming of homegrown tomatoes or an intermediate gardener aiming to refine your skills, starting a backyard garden is rewarding and achievable. This guide walks you through every step to start a new garden successfully in your backyard, offering practical advice to ensure your green space thrives.
Gardening boosts mental health, reduces grocery bills, and supports local ecosystems by attracting pollinators. With rising food prices and a growing focus on organic produce, cultivating your own vegetables, herbs, or flowers is empowering. Let’s dive into how to transform your backyard into a flourishing garden, no matter your experience level.
Section 1: Understand Your Space
Before planting, assess your backyard to ensure your garden’s success. Understanding your space helps you choose the right plants and avoid common pitfalls.
Evaluate Sunlight
Most vegetables and flowers need 6–8 hours of direct sunlight daily. Observe your backyard over a few days:
- Track sunlight patterns: Note which areas get full sun, partial shade, or full shade. Use a notebook or app to log hours of sunlight.
- Consider seasonal changes: Trees may cast more shade in summer, affecting light availability.
- Pro tip: For low-light yards, opt for shade-tolerant plants like lettuce, spinach, or ferns.
Analyze Soil
Soil quality is critical for healthy plants. Test your soil to understand its composition:
- Conduct a soil test: Purchase a home soil test kit (available at garden centers or online) to check pH and nutrient levels. Aim for a pH of 6.0–7.0 for most plants.
- Check texture: Squeeze a handful of moist soil. Sandy soil feels gritty, clay is sticky, and loamy soil is crumbly and ideal.
- Drainage test: Dig a 12-inch deep hole, fill it with water, and see how long it takes to drain. Poor drainage (over 4 hours) may require raised beds.
Assess Space and Accessibility
Measure your backyard to determine garden size:
- Small yards: Consider container gardening or vertical planters.
- Large yards: Plan for in-ground beds or multiple zones for vegetables, herbs, and flowers.
- Ensure easy access to water sources and pathways for maintenance.
Section 2: Planning the Garden
A well-planned garden saves time and boosts success. Choose plants suited to your climate and skill level, and design a layout for efficiency.
Choose the Right Plants
Select plants based on your USDA Hardiness Zone (check online at usda.gov) and experience:
- Beginners: Start with easy-to-grow crops like zucchini, radishes, cherry tomatoes, or marigolds. For more options, explore Low-Maintenance Outdoor Plants to find varieties that thrive with minimal care.
- Intermediate gardeners: Try broccoli, peppers, or lavender for a challenge.
- Pro tip: Research companion planting (e.g., marigolds with tomatoes to deter pests) to maximize yield.
Seasonal Planning
Plan your garden around your region’s growing seasons:
- Cool-season crops (e.g., peas, kale): Plant in early spring or fall.
- Warm-season crops (e.g., tomatoes, cucumbers): Plant after the last frost (check local frost dates).
- Create a planting calendar to stagger sowing for continuous harvests.
Design Your Layout
A clear layout prevents overcrowding and ensures accessibility. Below is a sample layout for a 10×10-foot garden:
| Section | Plants | Spacing | Notes |
|---|---|---|---|
| North | Tomatoes, Peppers | 18–24 inches | Taller plants to avoid shading |
| Center | Zucchini, Cucumbers | 24–36 inches | Needs room to sprawl |
| South | Lettuce, Radishes | 6–12 inches | Low-growing, easy access |
| Edges | Marigolds, Herbs | 6–12 inches | Pest-repellent companions |
Sketch your layout on paper or use free garden planning apps like Garden Planner.
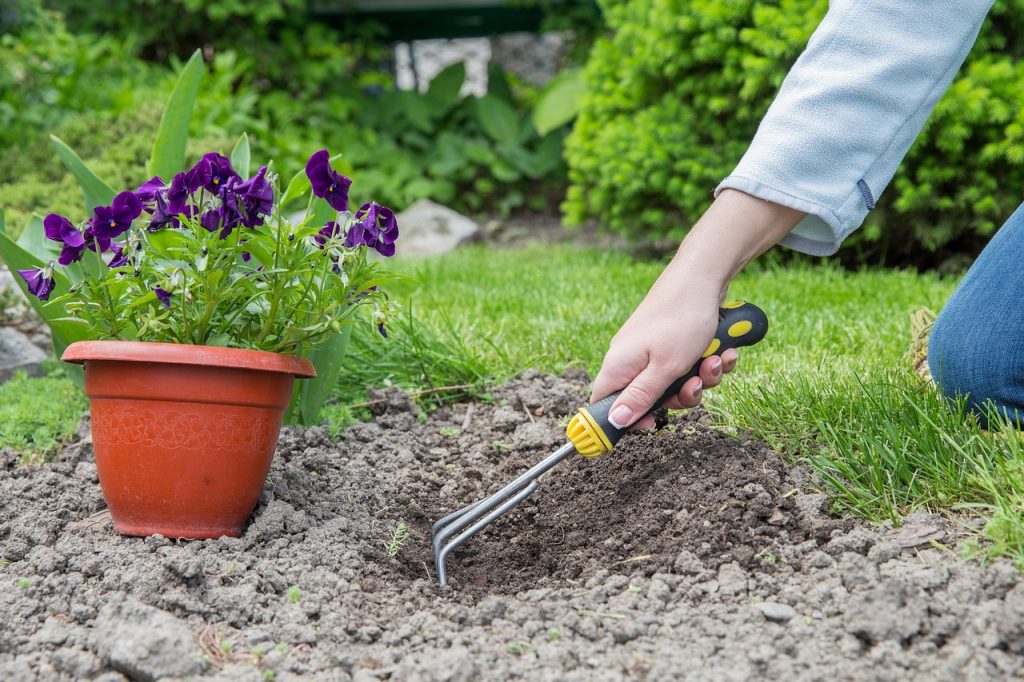
Section 3: Preparing the Garden Bed
Healthy soil is the foundation of a thriving garden. Proper preparation ensures your plants have the nutrients and structure they need.
Soil Testing and Amendment
Based on your soil test results:
- Adjust pH: Add lime to raise pH or sulfur to lower it, following test kit instructions.
- Boost nutrients: Mix in organic matter like compost, aged manure, or leaf mold to enrich poor soil.
- Pro tip: Test soil annually to monitor changes and adjust amendments.
Composting Tips
Compost improves soil fertility naturally:
- Start a compost pile: Use a bin or designate a corner for food scraps (vegetable peels, coffee grounds), grass clippings, and leaves.
- Balance materials: Aim for a 3:1 ratio of carbon-rich “browns” (dry leaves, cardboard) to nitrogen-rich “greens” (grass, vegetable scraps).
- Turn regularly: Aerate the pile every 2–3 weeks to speed decomposition.
Raised Beds vs. In-Ground Beds
- Raised beds: Ideal for poor soil or drainage issues. Build with untreated wood or metal, 6–12 inches high. Fill with a mix of topsoil, compost, and peat moss.
- In-ground beds: Cheaper and suitable for good soil. Loosen soil with a garden fork and remove rocks or weeds.
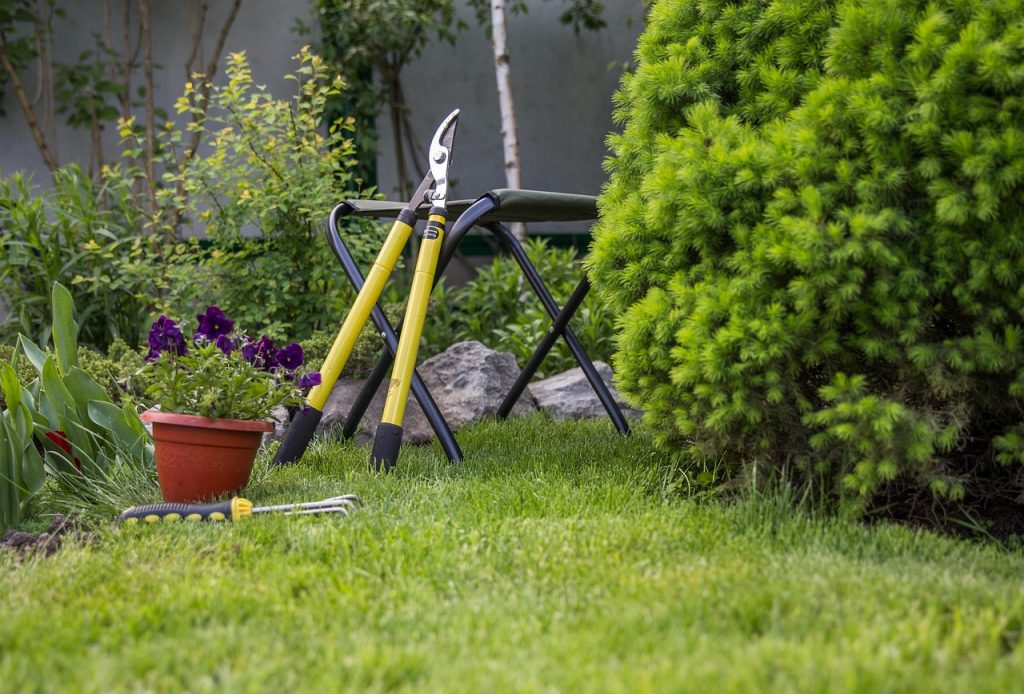
Section 4: Planting Tips
Proper planting techniques set your garden up for success. Follow these guidelines for seeds and transplants.
Planting Seeds
- Read seed packets: They provide depth, spacing, and timing instructions.
- Sow correctly: Plant seeds at the recommended depth (usually 2x the seed’s diameter). Cover lightly with soil and pat down.
- Water gently: Use a watering can with a fine rose to avoid displacing seeds.
Planting Transplants
- Harden off seedlings: Gradually expose nursery-bought or homegrown seedlings to outdoor conditions over 7–10 days.
- Dig proper holes: Make holes twice as wide as the root ball and just as deep. Place the plant and fill with soil, pressing gently.
- Water thoroughly: Soak the soil after planting to settle roots.
Spacing and Watering Basics
- Follow spacing guidelines to prevent overcrowding, which can lead to disease.
- Water deeply but infrequently to encourage strong roots. Aim for 1 inch of water per week, adjusted for rainfall.
Section 5: Ongoing Care & Maintenance
Consistent care keeps your garden healthy and productive. Focus on watering, mulching, weeding, and pest control.
Watering and Mulching
- Water wisely: Water early in the morning to reduce evaporation. Use a soaker hose or drip irrigation for efficiency.
- Mulch benefits: Spread 2–3 inches of organic mulch (straw, wood chips, or grass clippings) to retain moisture, suppress weeds, and regulate soil temperature.
- Pro tip: Install a rain barrel to collect water for sustainable irrigation.
Weeding
- Weed regularly: Pull weeds by hand or use a hoe weekly to prevent competition for nutrients.
- Prevent regrowth: Remove weeds with roots intact to stop them from returning.
Organic Fertilizer
- Use organic fertilizers like fish emulsion or compost tea every 4–6 weeks during the growing season.
- Avoid over-fertilizing, which can burn plants or reduce yields.
Pest Management
- Monitor plants: Check weekly for signs of pests (e.g., holes in leaves, sticky residue).
- Natural solutions: Use neem oil, insecticidal soap, or introduce beneficial insects like ladybugs.
- Pro tip: Plant pest-repellent herbs like basil or mint near susceptible crops.
Section 6: Harvesting and Replanting
Knowing when and how to harvest maximizes your garden’s output. Planning for the next season ensures year-round productivity.
Harvesting Tips
- Harvest timing: Pick vegetables at peak ripeness (e.g., tomatoes when fully colored, lettuce before bolting). Check plant-specific guidelines.
- Use clean tools: Cut with sharp scissors or pruners to avoid damaging plants.
- Harvest regularly: Frequent picking encourages plants like beans or zucchini to produce more.
Preparing for Next Season
- Crop rotation: Rotate plant families (e.g., tomatoes to legumes) annually to prevent soil depletion and reduce pests.
- Clean up: Remove dead plants and add them to your compost pile.
- Cover crops: Plant clover or rye in the off-season to improve soil health.
FAQs: Common Backyard Gardening Questions
You need basic tools (shovel, trowel, gloves), quality soil, seeds or transplants, a watering can or hose, and a plan based on your space and climate.
Add compost, aged manure, or leaf mold to boost nutrients. Use cover crops like clover in the off-season to enrich soil structure.
Radishes, lettuce, zucchini, and cherry tomatoes are low-maintenance and forgiving for new gardeners.
Most vegetables need 6–8 hours of direct sunlight daily. Shade-tolerant crops like spinach can thrive with 4–6 hours.
Raised beds are better for poor soil or drainage; in-ground beds work if your soil is healthy and well-draining.
Water deeply 1–2 times per week, providing about 1 inch of water, adjusted for rainfall and plant needs.
Use neem oil, companion planting (e.g., marigolds), or introduce beneficial insects like ladybugs to control pests naturally.
Plant cool-season crops in early spring or fall and warm-season crops after the last frost, based on your local climate.
Conclusion: Start Your Backyard Garden Today
Starting a new garden in your backyard is an exciting journey that anyone can begin. By understanding your space, planning thoughtfully, preparing the soil, planting correctly, and maintaining your garden, you’ll enjoy fresh produce, vibrant flowers, and a deeper connection to nature. Don’t let inexperience hold you back—every gardener starts somewhere. Grab a trowel, pick a few easy crops like radishes or lettuce, and take the first step. With patience and care, your backyard will transform into a thriving oasis. Happy gardening!