Repotting houseplants can seem overwhelming for beginners, but mastering how to repot houseplants without stress transforms it into a simple, rewarding task. This essential process gives your plants fresh soil and room to grow, promoting healthier roots and vibrant foliage. Whether you’re tending to a pothos, snake plant, or monstera, repotting ensures they thrive in your home. With beginner-friendly steps and a few expert tips, this guide makes repotting approachable, helping you boost your confidence as a plant parent.
Why Repotting Houseplants Matters
Repotting is essential for houseplant health, as it provides fresh soil, more space for roots, and better drainage. Over time, soil loses nutrients, and roots can become cramped, leading to stunted growth or root-bound plants. Repotting refreshes the plant’s environment, promoting vibrant foliage and stronger roots. For beginners, understanding the purpose of repotting reduces anxiety and makes the process feel purposeful. It’s not just about moving a plant, it’s about giving it room to flourish.
Signs Your Houseplant Needs Repotting
Not sure if it’s time to repot? Look for these common indicators:
- Roots growing through drainage holes: This shows the plant is root-bound and needs more space.
- Soil dries out too quickly: Compacted or depleted soil can’t retain moisture properly.
- Stunted growth: If your plant stops growing despite good care, it may need a larger pot.
- Yellowing leaves or wilting: These can signal nutrient deficiency or cramped roots.
When to Repot Houseplants
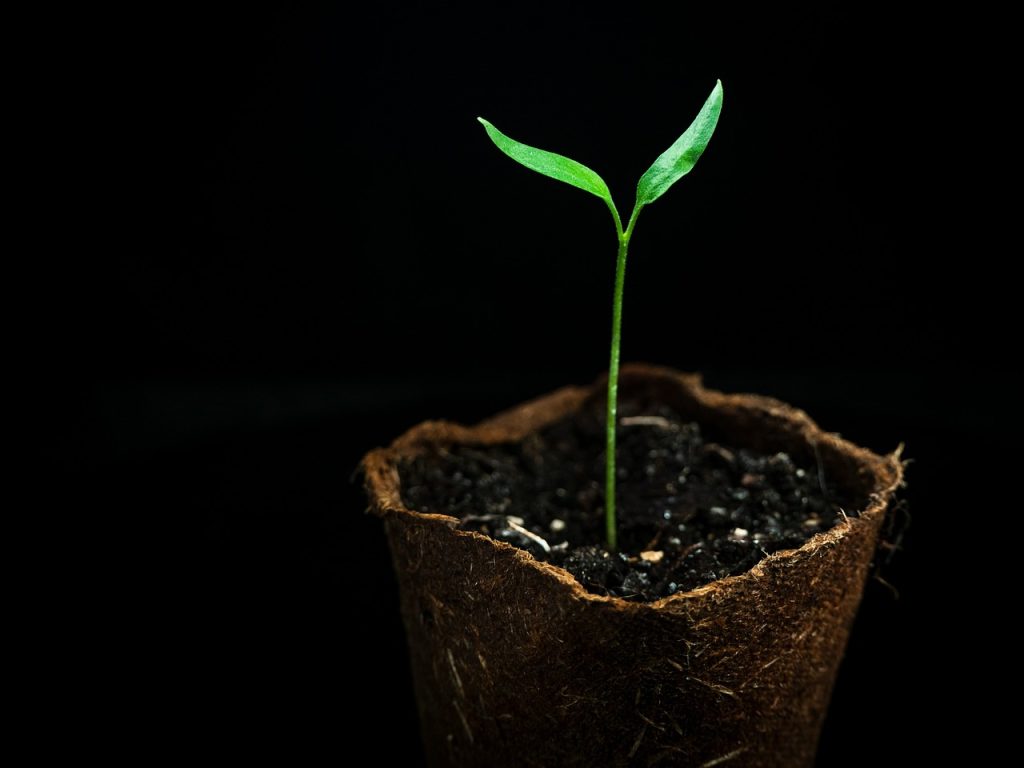
Timing is critical for stress-free repotting. The best time is during the spring or early summer, when plants are actively growing and can recover quickly. Avoid repotting in fall or winter, as most houseplants enter a dormant phase and are more sensitive to disturbance. For beginners, check your plant’s growth cycle, tropical plants like monstera or pothos thrive with spring repotting, while succulents can handle it year-round if needed. If your plant shows signs of distress, like root crowding, don’t wait for the “perfect” season, repot carefully.
Pro Tip: Check the Weather
Repot on a mild, overcast day to minimize plant stress. Avoid extreme heat or cold, as stable temperatures help plants adjust to their new pots more easily.
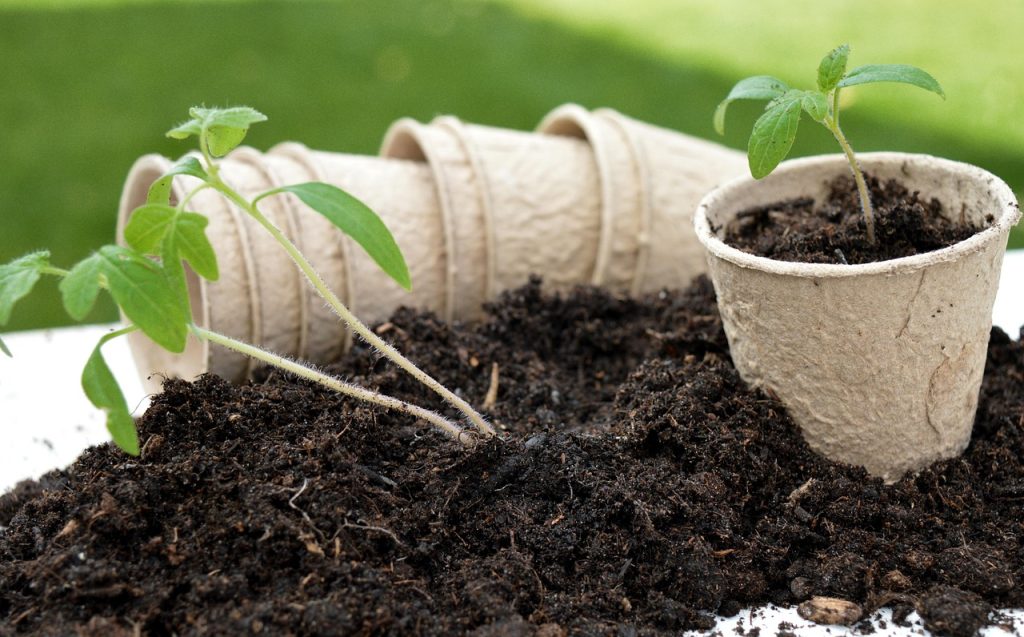
Tools and Materials You’ll Need
Gathering supplies ahead of time makes repotting seamless and stress-free. Here’s what you’ll need:
- New pot: Choose one 1–2 inches larger in diameter than the current pot, with drainage holes.
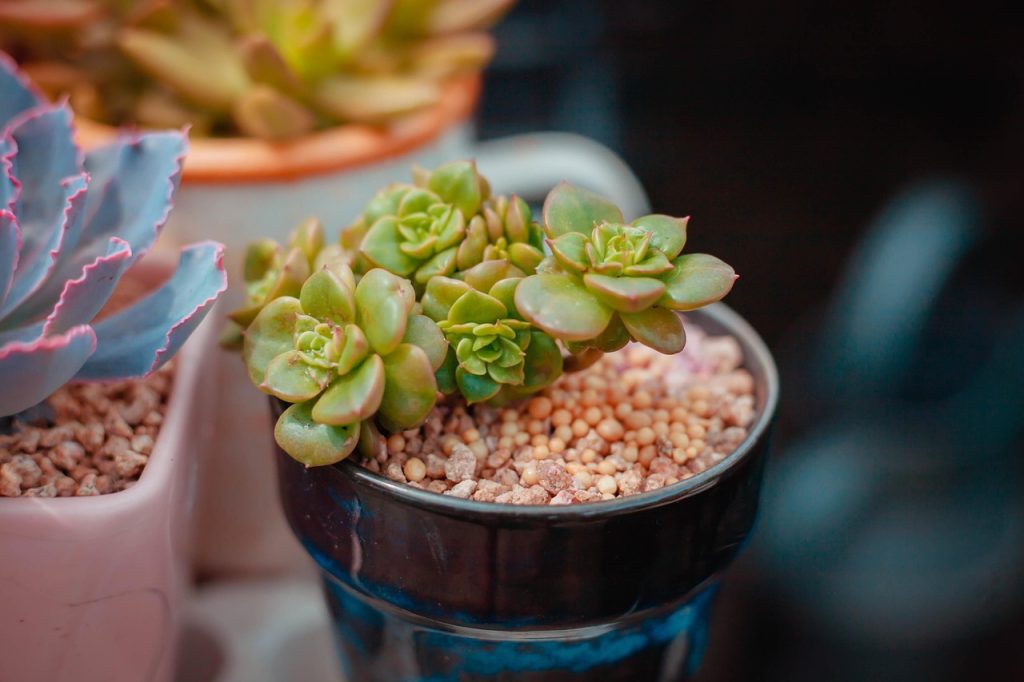
- Fresh potting mix: Select a mix suited to your plant (e.g., cactus mix for succulents, general potting mix for tropicals).
- Trowel or scoop: For adding soil without mess.
- Gloves: To protect your hands from dirt or sharp roots.
- Watering can: For gentle watering after repotting.
- Scissors or pruning shears: For trimming damaged roots or leaves.
- Tarp or newspaper: To keep your workspace clean.
Pro Tip: Sterilize Tools
Clean your scissors or shears with rubbing alcohol before use to prevent introducing bacteria or fungi to the plant’s roots.
Step-by-Step Guide to Repotting Houseplants Without Stress
Follow these beginner-friendly steps to repot your houseplant with confidence. Each step is designed to minimize stress for both you and your plant.
Step 1: Prepare Your Workspace
Set up a clean, spacious area, like a table covered with newspaper or a tarp. Lay out all tools and materials so you can focus on the task without interruptions. A clutter-free space reduces anxiety and makes the process feel manageable. For beginners, having everything ready prevents mid-process scrambling, ensuring a smooth experience.
Step 2: Choose the Right Pot
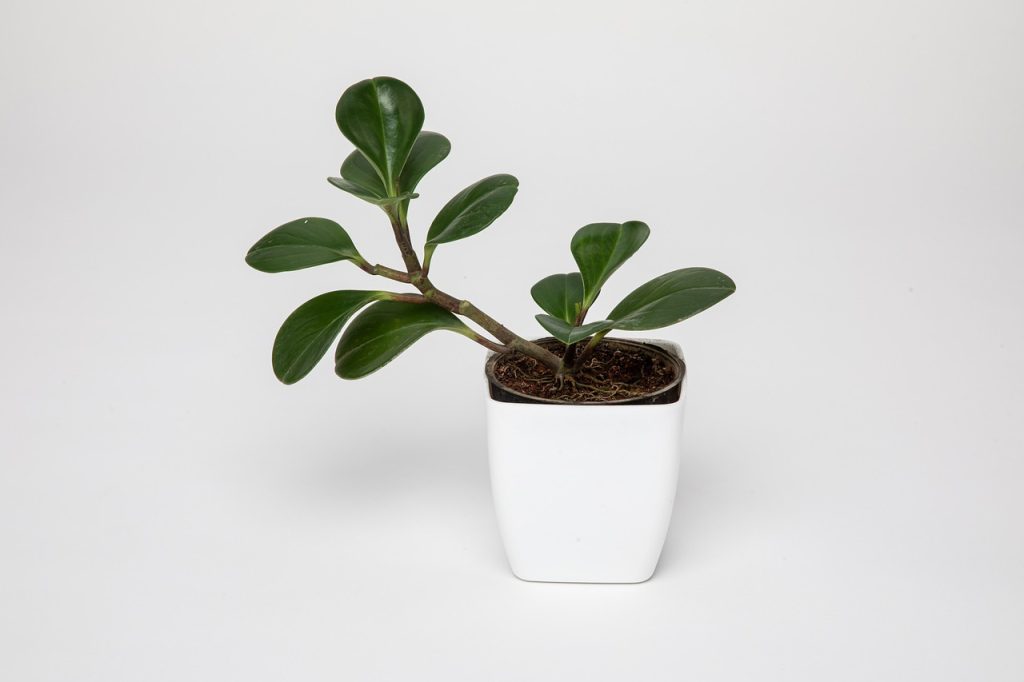
Select a pot that’s slightly larger than the current one, about 1–2 inches wider in diameter. Ensure it has drainage holes to prevent water buildup, which can cause root rot. Terracotta pots are great for plants that prefer drier soil, like snake plants, while plastic pots retain moisture for tropicals like philodendrons. Check that the pot is clean to avoid introducing pests or pathogens.
Step 3: Water the Plant Lightly
Water your plant 1–2 days before repotting to loosen the soil and hydrate the roots. This makes it easier to remove the plant without damaging its root system. Avoid soaking the soil, as overly wet roots can break during the process. For beginners, this step is crucial for reducing stress on the plant and simplifying removal.
Step 4: Remove the Plant from Its Pot
Gently turn the pot on its side and tap the bottom to loosen the root ball. If the plant resists, slide a butter knife or trowel around the inside edge to release it. Hold the plant by the base of its stems, not the leaves, to avoid damage. For root-bound plants, be patient, wiggling the pot gently can help free the roots without tearing them.
Step 5: Inspect and Trim Roots
Examine the roots for signs of rot (brown, mushy roots) or overcrowding. Healthy roots are firm and white or light-colored. Use sterilized scissors to trim any damaged or excessively long roots, cutting no more than 10–20% of the root mass. For beginners, this step ensures the plant starts fresh in its new pot, but don’t overdo it, healthy roots are vital for recovery.
Step 6: Add Fresh Soil to the New Pot
Place a 1–2 inch layer of fresh potting mix at the bottom of the new pot. This creates a stable base for the root ball. Choose a soil mix suited to your plant’s needs, cactus mix for succulents, peat-based mix for tropicals, or a blend with perlite for extra drainage. Center the plant in the pot, ensuring it sits at the same depth as in the old pot.
Step 7: Fill with Soil and Settle the Plant
Add soil around the root ball, pressing gently to eliminate air pockets without compacting too tightly. Leave about an inch of space below the pot’s rim to allow for watering. Tap the pot lightly to help the soil settle naturally. For beginners, this step ensures the plant is secure without suffocating the roots.
Step 8: Water and Place in Indirect Light
Water the plant thoroughly but gently, allowing water to drain through the holes. Place the plant in a spot with bright, indirect light to help it adjust. Avoid direct sunlight, which can stress a newly repotted plant. Monitor the soil over the next week, watering only when the top inch feels dry to prevent overwatering.
Pro Tip: Use a Saucer
Place a saucer under the pot to catch excess water, but empty it after 30 minutes to avoid root rot. This is especially helpful for beginners learning to balance moisture levels.
Common Mistakes to Avoid
Repotting is straightforward, but beginners often make these mistakes:
- Choosing a pot too large: Oversized pots retain too much water, leading to root rot.
- Skipping drainage holes: Without drainage, water accumulates and harms roots.
- Repotting too often: Most houseplants only need repotting every 1–2 years.
- Compacting soil too tightly: This restricts root growth and reduces aeration.
Pro Tip: Don’t Fertilize Immediately
Wait 4–6 weeks after repotting to fertilize, as fresh soil already contains nutrients, and fertilizing too soon can stress the plant.
Read More: Best Plants for Beginners
Aftercare for Repotted Houseplants
Proper aftercare ensures your plant thrives post-repotting. Keep the plant in a stable environment with consistent temperature (65–75°F) and avoid moving it frequently. Monitor for signs of stress, like wilting or yellowing leaves, which may indicate overwatering or insufficient light. Water sparingly for the first two weeks, as the plant adjusts to its new soil. For beginners, checking the plant daily for a few days helps catch issues early.
Table: Aftercare Checklist
| Task | Frequency | Purpose |
|---|---|---|
| Water | When top inch of soil is dry | Prevents overwatering and root rot |
| Check for pests | Weekly | Ensures no new infestations |
| Monitor light | Daily for first week | Confirms plant is in ideal conditions |
| Avoid moving plant | First 2–4 weeks | Reduces stress during adjustment |

FAQs About How to Repot Houseplants Without Stress
Most houseplants need repotting every 1–2 years, or when roots become crowded or soil depletes. Check for signs like roots growing through drainage holes.
It’s best to repot in spring or early summer when plants are growing. Winter repotting can stress dormant plants, but it’s okay if the plant is root-bound or distressed.
Choose a pot 1–2 inches larger in diameter than the current one. Too large a pot can lead to water retention and root rot, especially for beginners.
Look for roots circling the pot’s interior, growing through drainage holes, or stunted growth. These signs indicate the plant needs a larger pot.
Yes, water thoroughly to settle the soil, but ensure excess water drains out. Wait until the top inch of soil is dry before watering again.
Avoid reusing old soil, as it may lack nutrients or contain pathogens. Fresh potting mix ensures a healthy environment for your plant.
Wilting can result from transplant shock, overwatering, or insufficient light. Ensure proper care, and give the plant 1–2 weeks to adjust.
Conclusion
Learning how to repot houseplants without stress is a game-changer for beginners, transforming a potentially intimidating task into a rewarding experience. By following these simple steps, choosing the right pot, using fresh soil, and providing proper aftercare, you can ensure your houseplants thrive in their new homes. Avoid common pitfalls like overwatering or choosing oversized pots, and don’t be afraid to check your plant’s roots for signs it’s time to repot. With this guide, you’re equipped to repot with confidence, keeping your plants healthy and your plant-parenting journey stress-free. Start repotting today, and watch your houseplants flourish!